The Right Way to Set Up Google OAuth for Coral (Gmail + Calendar Without Breaking Everything)
How to get a working Google access token in under 5 minutes using OAuth Playground — no server, no redirect URI, no headache
Before You Start: There’s a Hackathon Going On
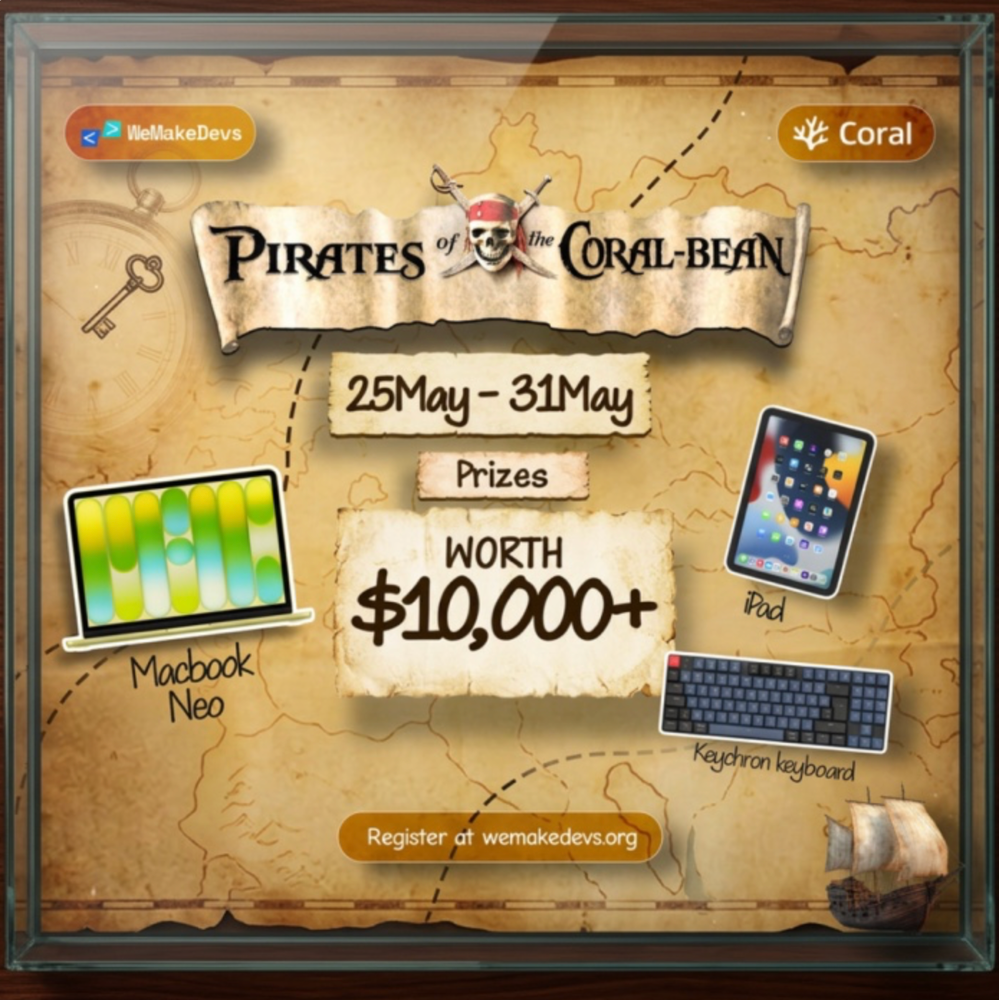
Pirates of the Coral-bean is a live $10,000+ hackathon running May 25–31, 2026 where developers build AI agents using Coral. If you haven’t registered yet, do it now — it’s free and there’s still time. This guide covers the authentication step you need before connecting any Google API (Gmail, Calendar, Sheets, Drive, YouTube) to Coral.
You’re building a local agent and you want to query Gmail or Google Calendar through Coral. You’ve got a community source spec for Gmail or Calendar — either one you built yourself or one you downloaded — and when you run coral source add --file manifest.yaml, it asks for a GOOGLE_ACCESS_TOKEN.
Then you opened the Google OAuth docs and immediately closed them.
That’s a normal reaction. Google’s OAuth flow is designed for production web apps with redirect URIs and servers and consent screen verification processes. None of that is what you need when you’re building a local AI agent that queries your own Gmail.
There’s a tool called OAuth Playground that gets you a working token in about 5 minutes without running a single server. That’s what this guide covers.
It works for Gmail, Google Calendar, Google Sheets, Google Drive, YouTube Analytics — any Google API.
Note: Coral doesn’t yet have built-in OAuth support for bundled sources. The Gmail and Google Calendar connectors I built are community source specs that you install locally via coral source add --file. Once Coral ships native OAuth, these will likely become first-class sources. For now, the token approach below is the correct path for any Google-based Coral connector.
What You’re Actually Building
Google OAuth produces two things you care about:
- Access token: Works immediately, expires in 1 hour
- Refresh token: Never expires, but you need a small script to exchange it for a fresh access token
For getting started and testing your Coral connector, the access token is enough. I’ll also show you the refresh token approach so your agent doesn’t break mid-demo.
Part 1: Create a Google Cloud Project
You need a project in Google Cloud Console to enable APIs and create credentials. This sounds scarier than it is.
Go to console.cloud.google.com.
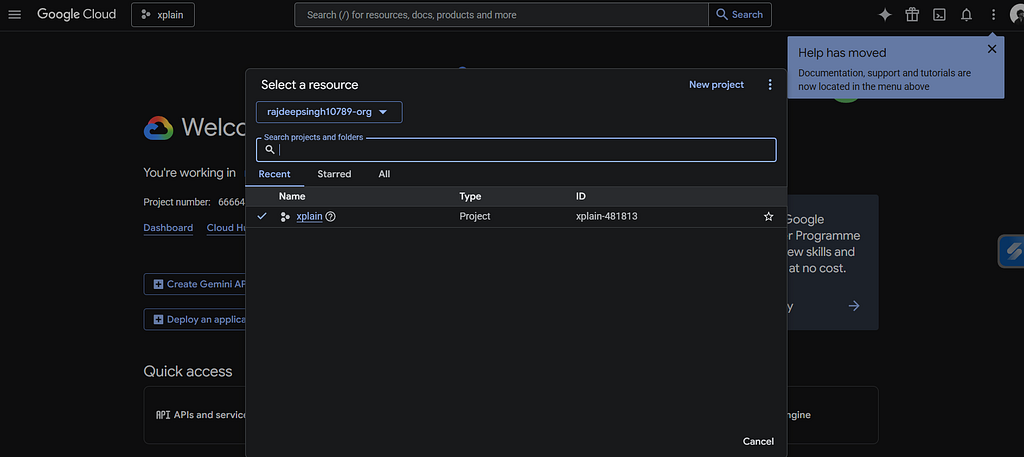
If this is your first time, Google will ask you to select or create a project. Click “New Project.”
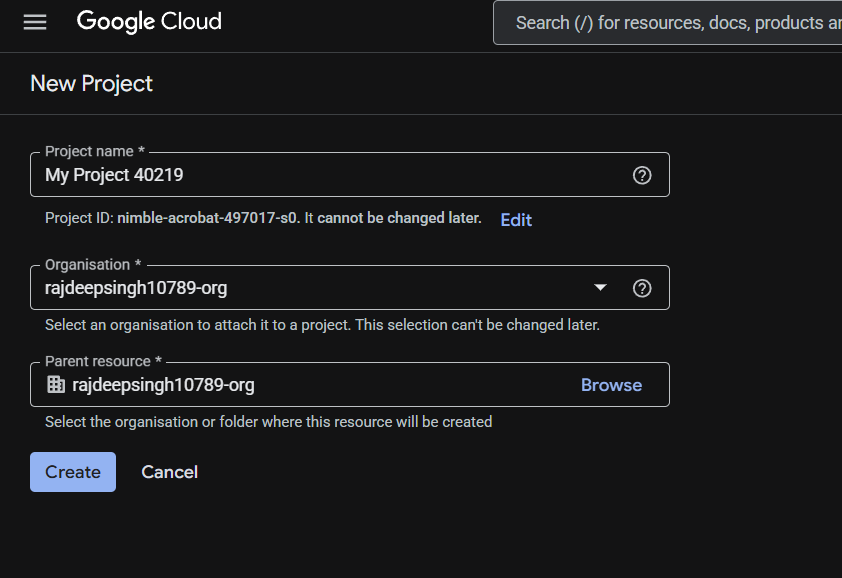
Give it any name (something like coral-local works fine) and click Create.
Part 2: Enable the APIs You Need
In the left sidebar, go to “APIs and Services” > “Library.”
Search for and enable each API you want to use:
- Gmail API (if you’re connecting Gmail)
- Google Calendar API (if you’re connecting Calendar)
- Google Sheets API (if you’re connecting Sheets)
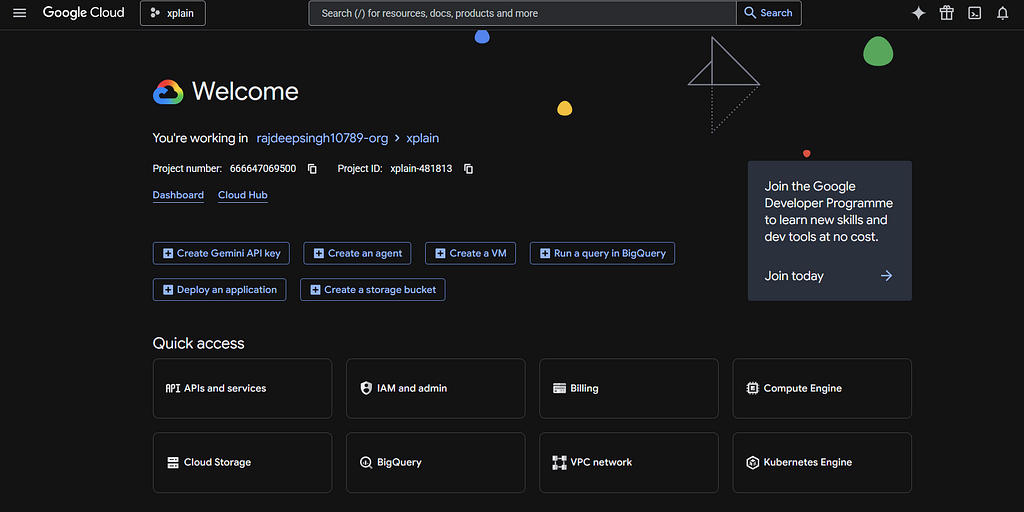
Click on each one and hit the big Enable button.
Part 3: Create OAuth 2.0 Credentials
In the left sidebar, go to “APIs and Services” > “Credentials.”
Click “Create Credentials” at the top and select “OAuth client ID.”
If Google asks you to configure a consent screen first, click “Configure Consent Screen.” Choose “External” (even for personal use), fill in the app name (anything works), add your email as both the user support email and the developer contact, and save. You don’t need to publish it or go through verification.
Back on the Create OAuth client ID screen:
- Application type: Desktop app
- Name: anything (coral-local works)
Click Create.
Google will show you a Client ID and Client Secret.
Copy both and save them somewhere. You’ll need them in the next step.
Part 4: Get Your Token Using OAuth Playground
Go to developers.google.com/oauthplayground.
Before doing anything else, click the gear icon in the top right corner.
Check “Use your own OAuth credentials” and paste in your Client ID and Client Secret from the previous step.
Close the settings panel.
Now in the left panel under “Step 1: Select and authorize APIs,” find and select the scopes you need:
For Gmail: Scroll down to “Gmail API v1” and select: https://www.googleapis.com/auth/gmail.readonly
For Google Calendar: Scroll to “Calendar API v3” and select: https://www.googleapis.com/auth/calendar.readonly
Select both if you want both. You can get one token that covers multiple Google APIs at once.
Click “Authorize APIs.”
Google will ask you to sign in and show you a consent screen listing what access you’re granting. Click Allow.
You’ll be redirected back to OAuth Playground and land on Step 2. Click “Exchange authorization code for tokens.”
You now have an access token and a refresh token in Step 2.
Copy the Access token value (the long string starting with ya29.).
Part 5: Add the Token to Coral
Now go back to your terminal and add your connector:
GOOGLE_ACCESS_TOKEN=ya29.your-token-here coral source add --file gmail-connector/manifest.yaml
Or if you’re using the interactive prompt:
coral source add --interactive --file gmail-connector/manifest.yaml
# When prompted for GOOGLE_ACCESS_TOKEN, paste the token
Test that it worked:
coral source test gmail
coral source test google_calendar
Run a real query to confirm:
coral sql "SELECT id, thread_id FROM gmail.messages WHERE q = 'is:unread newer_than:1d' LIMIT 5"
Part 6: The Token Expiry Problem
Access tokens expire after 1 hour. If you come back to your agent the next day, Coral will start returning authentication errors.
You have two options:
Option A (Quick): Just get a new token
Go back to OAuth Playground, and in Step 2, click “Refresh access token.” It uses your saved refresh token to get a fresh access token in one click. Paste the new one into Coral.
To update the token in Coral without reinstalling the source:
GOOGLE_ACCESS_TOKEN=ya29.new-token-here coral source add --file gmail-connector/manifest.yaml
Running source add again with a new token overwrites the old one.
Option B (Proper): Use a refresh script
Save your refresh token and use a small script to get fresh access tokens automatically.
Create refresh_google_token.py:
import requests, os
CLIENT_ID     = os.getenv("GOOGLE_CLIENT_ID")
CLIENT_SECRET = os.getenv("GOOGLE_CLIENT_SECRET")
REFRESH_TOKEN = os.getenv("GOOGLE_REFRESH_TOKEN")
resp = requests.post("https://oauth2.googleapis.com/token", data={
"client_id": CLIENT_ID,
"client_secret": CLIENT_SECRET,
"refresh_token": REFRESH_TOKEN,
"grant_type": "refresh_token",
})token = resp.json()["access_token"]
print(token)
Run it before starting your agent:
NEW_TOKEN=$(python refresh_google_token.py)
GOOGLE_ACCESS_TOKEN=$NEW_TOKEN coral source add --file gmail-connector/manifest.yaml
Bonus: The gcloud Way (Fastest for Developers)
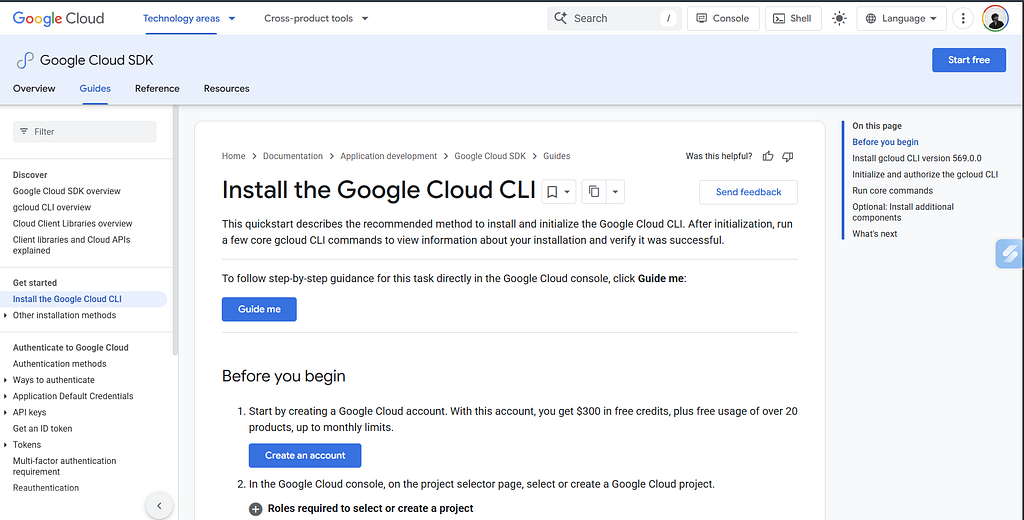
If you have Google Cloud CLI installed, there’s a shortcut. After logging in once:
gcloud auth login
gcloud auth application-default login
You can get a fresh access token anytime with:
gcloud auth print-access-token
This token works as your GOOGLE_ACCESS_TOKEN. The gcloud CLI handles the refresh automatically so it never expires as long as your login session is valid.
GOOGLE_ACCESS_TOKEN=$(gcloud auth print-access-token) coral source add --file gmail-connector/manifest.yaml
This is the fastest day-to-day workflow if you’re already using gcloud for anything.
Using the Same Token for Both Gmail and Calendar
One access token can cover multiple Google APIs if you selected multiple scopes when authorizing in OAuth Playground. If you selected both gmail.readonly and calendar.readonly, you get one token that works for both connectors.
# Same token, two different connectors
GOOGLE_ACCESS_TOKEN=ya29.your-token coral source add --file gmail-connector/manifest.yaml
GOOGLE_ACCESS_TOKEN=ya29.your-token coral source add --file google-calendar-connector/manifest.yaml
Both connectors are now live. Test them:
coral source test gmail
coral source test google_calendar
Now you can run cross-source queries:
SELECT e.summary, e.start_datetime, COUNT(DISTINCT m.id) AS unread_emails
FROM google_calendar.events_between(
    calendar_id => 'primary',
    time_min    => '2026-05-26T00:00:00Z',
    time_max    => '2026-05-26T23:59:59Z'
) e
CROSS JOIN gmail.search_messages(
    q => 'is:unread newer_than:1d'
) m
GROUP BY e.summary, e.start_datetime
ORDER BY e.start_datetime;
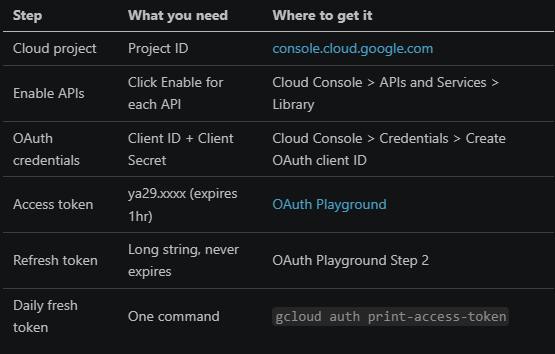
Quick Reference
What’s Next
With authentication working, you can connect Gmail and Google Calendar as Coral sources and start writing cross-source queries. For a full walkthrough of what you can build once they’re connected, see my other guide: I Stopped Asking “What Should I Work On?” and Started Querying It (link coming once published).
For the full source spec reference and other available connectors, see the Coral docs.
For OAuth-related questions, the Coral Discord has a dedicated help channel.
Written as part of the Pirates of the Coral-bean hackathon. The OAuth setup described here is exactly what I used to authenticate the Gmail and Google Calendar connectors I built for this hackathon.